


Bountiful Garden has made every occasion simply enchanting with their stunning floral arrangements. From birthdays to anniversaries, their attention to detail and commitment to quality make them my go-to for adding a touch of beauty to life's celebrations. Highly recommended!

Beatrice E. Johnson
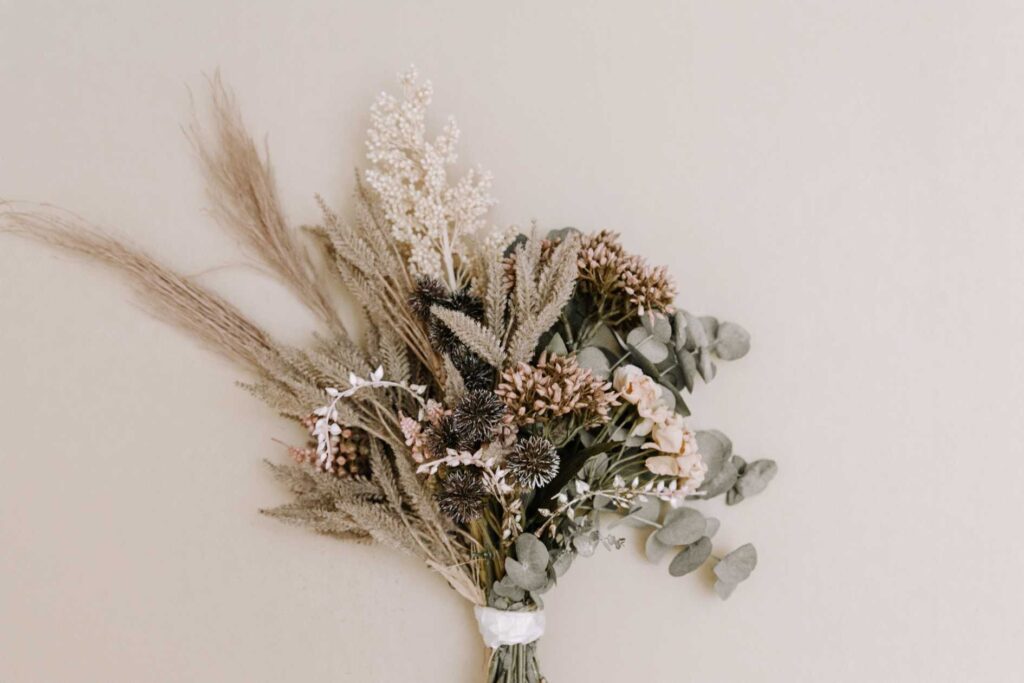
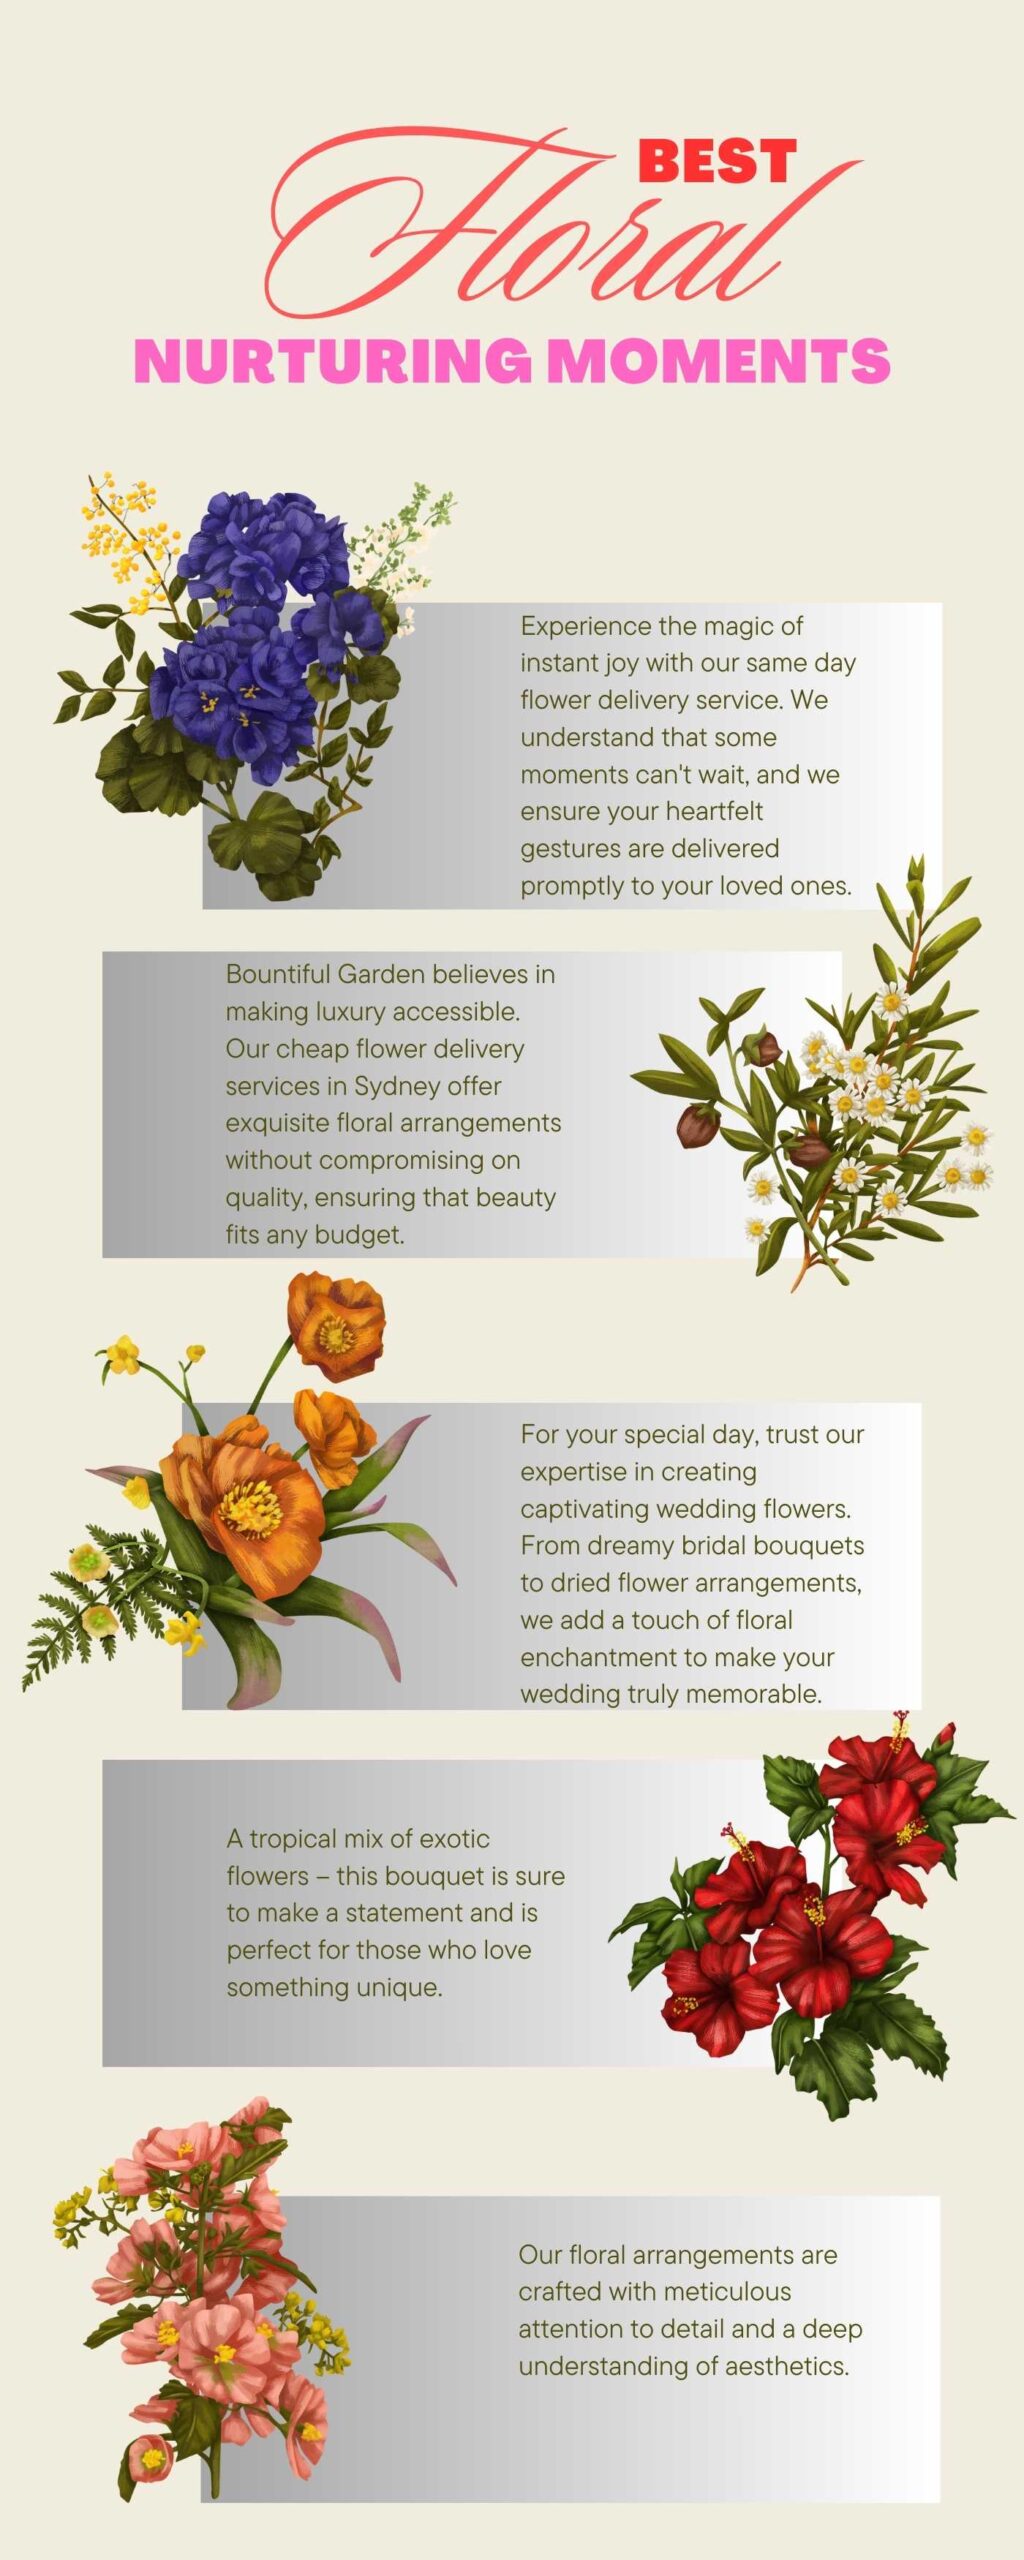
What sets Bountiful Garden apart is their ability to create floral magic while respecting different budgets. Their cheap flower delivery service allowed me to surprise my loved ones with affordable yet breathtaking blooms. Thank you for making luxury accessible!

Megan R. Reilly
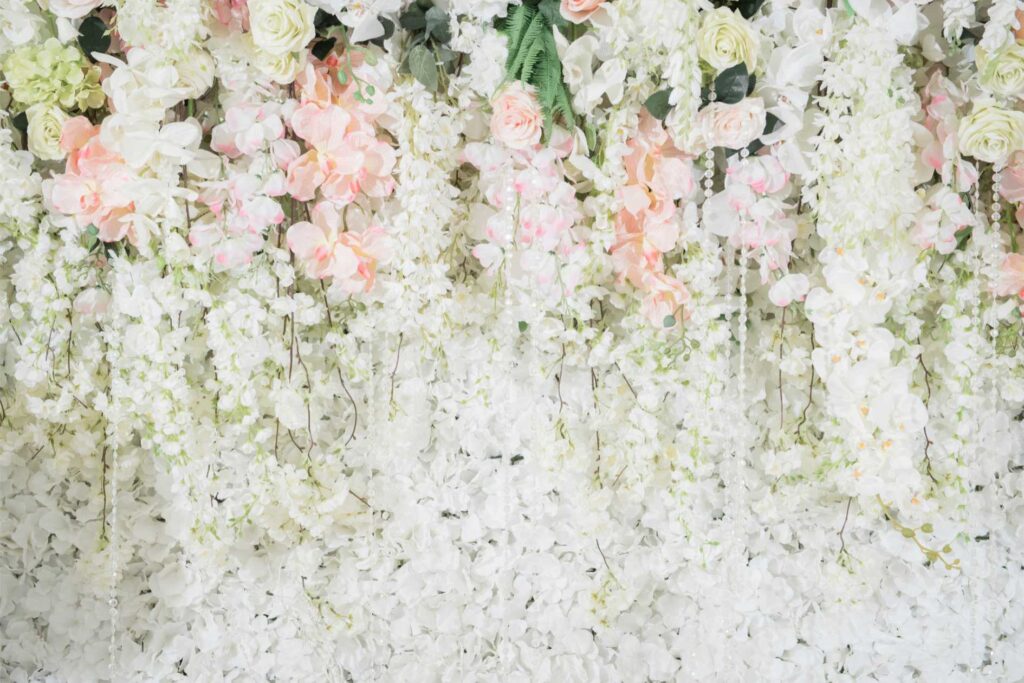
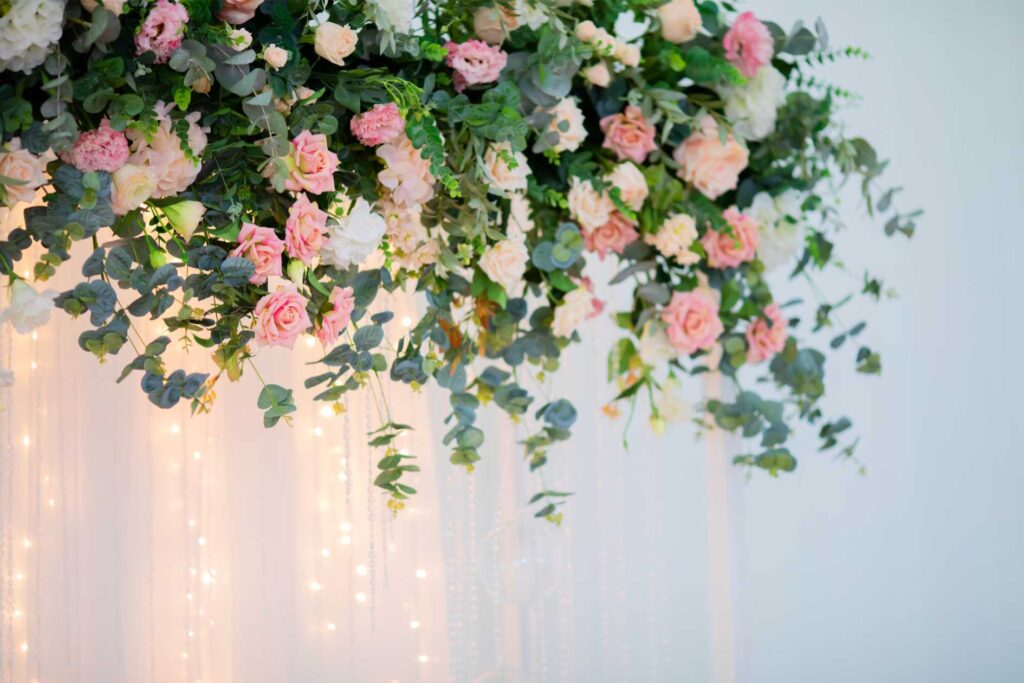
Our wedding day was transformed into a floral fairy tale with Bountiful Garden. The wedding flowers were beyond our dreams - elegant, fresh, and perfectly capturing our vision. Their wedding floral specialists are true artists, and we're forever grateful for the magical touch they added to our special day.

Robert E. Moore